Getting Started
Getting Started With Tap2Check-In
Start here when a new business is preparing Tap2Check-In for daily work.
Sign inOpen the workspace
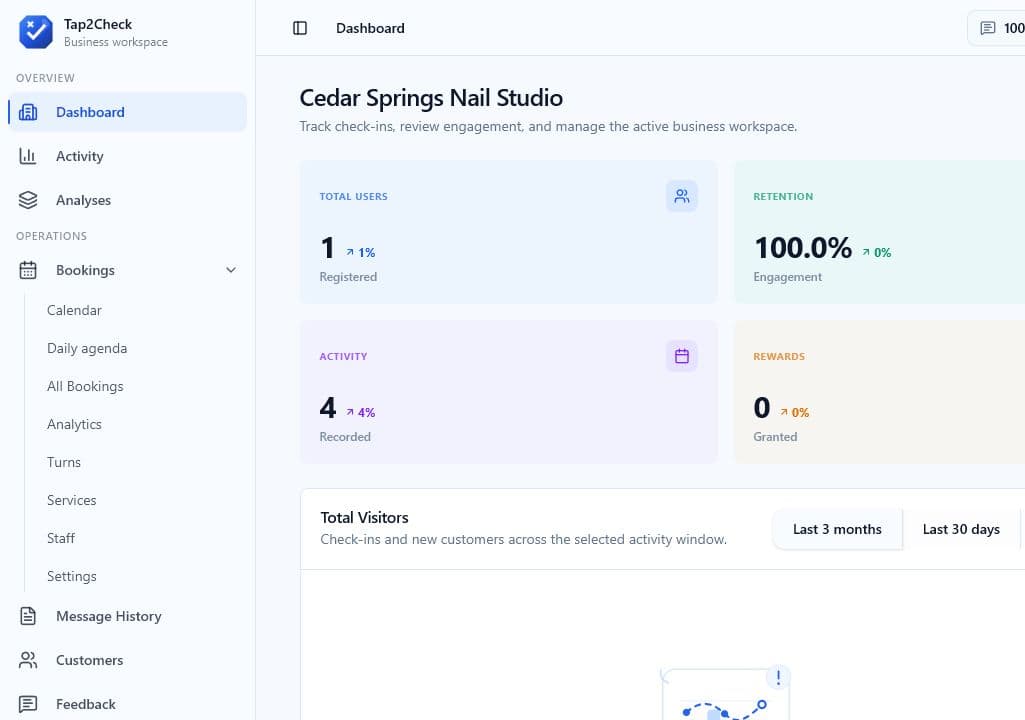
The dashboard is the first place to check after signing in. It gives you a quick view of bookings, customers, messages, and setup items that may need attention.
- Go to the sign-in page.
- Enter the owner email and password.
- Confirm that the correct business name appears in the workspace.
- Use the left navigation to open bookings, customers, services, staff, settings, and subscription tools.
Check the basic setup
Before inviting the team or sharing a booking link, review the account details that customers and staff will rely on.
- Open Settings and confirm the business name, address, public phone, and review link.
- Open Services and confirm that bookable services have the right duration and price.
- Open Staff and confirm that each staff member has the right service assignments.
- Open Bookings and confirm that the calendar shows the expected business hours.
Share access carefully
Only share the workspace with people who should help operate the business. Keep owner access limited to trusted managers or owners.
- Give staff the links they need for daily work.
- Test the public booking page before sharing it with customers.
- Contact support if the wrong business appears after sign-in.